If the only roasted peppers you’ve ever had came out of a jar, you won’t believe how much better roasting your own is. There’s a huge difference in taste – just like how making your own tomato sauce can’t be compared to what you get out of a jar.
Having a batch of roasted peppers in your fridge (they last for about 2 weeks) is a great thing to keep on hand. You can add them to sandwiches, salads, pasta or serve them alone or as part of an appetizer plate. They add a new level of deliciousness to every dish. Every time I roast a batch, I can’t wait to grab a slice of crusty bread and top it with these peppers. It’s such a simple snack but is off the charts good.
I find that most people just don’t realize how easy roasting peppers really is. And this is true for most cooking. People who don’t cook perceive it as hard and it isn’t until you do it that you see how easy it really is. I guess that’s true for most things.
So let’s bust that illusion right now. Next time you go to the grocery store, buy some bell peppers. They really can be any color – just not green because they’re not as sweet as the red, orange or yellow. Make sure you have a good quality extra virgin olive oil. some fresh basil and garlic and you’re good to go. Here’s the recipe.
Ingredients
3 red bell peppers (or however many you want to roast in whatever color you want)
Extra virgin olive oil – about 2 tbs
1 large garlic clove – finely chopped
3 – 4 basil leaves – slivered (or chopped parsley)
Seasoned to taste with sea salt
Instruction
Pre-heat oven to 450 degrees
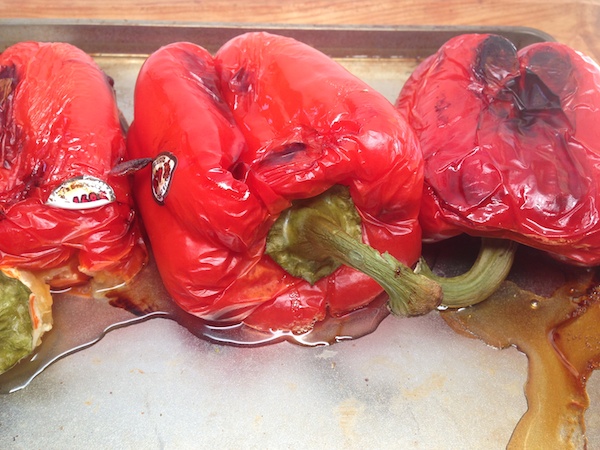
Place peppers on a baking tray and roast until the outer skin has charred and blistered on all sides and the pepper is deflated (about 20 minutes) You’ll need to rotate the pepper with tongs a few times so all sides are charred. And yes I know there’s a tag there but that and all the skin will be peeled off.
Place peppers in a paper bag or in a dish wrapped with plastic (helps to loosen the skin further) and let them cool.
Once cooled enough to handle, peel off the skin and remove all the seeds. Do this by a sink because your hands will get sticky and you’ll have to rinse them often.
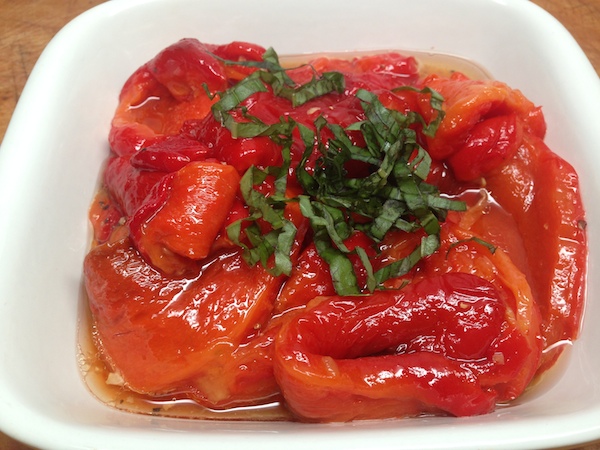
Tear the peppers into sections and place in a bowl. It’ll get nice and juicy. Sprinkle generously with sea salt and toss. Taste and add a bit more salt if needed
Add garlic and drizzle with the oil. Top with slivered basil


When do you add the garlic?
Oh…along with the oil. You can also leave it out if you don’t like garlic or use parsley instead of basil. Thanks for asking.
Homemade roasted red peppers are leaps and bounds more flavorful than store bought and they’re so easy! Thanks for inspiring me to lose the jar and go back to fresh ingredients!
I’m so glad Lily. They’re a staple in my kitchen. Hope they become one for you too. One of life’s little pleasures.
Yay! I’m so excited that these were super easy and so tasty! I live alone so I ate my two peppers by myself but I can’t wait to share this with others! I won’t let them in on the secret of how easy though…ha
And I won’t give your secret away Ann! So glad you tried this and are going to share!!
[…] 5 or 6 large red bell peppers – Roasted – See this recipe […]
About to try this now! Super excited doing it for my first time, will keep you posted on how I do!
Roasting your own Heather will bring you to a whole new appreciation for roasted peppers. One of life’s little delights.
[…] Several slices of roasted peppers – see how here […]